|
|
|
|
|
|
|
Meetings are free and open to everyone. Arrive 30 minutes early for the social time.
|
|
|
|
|
|
|
|
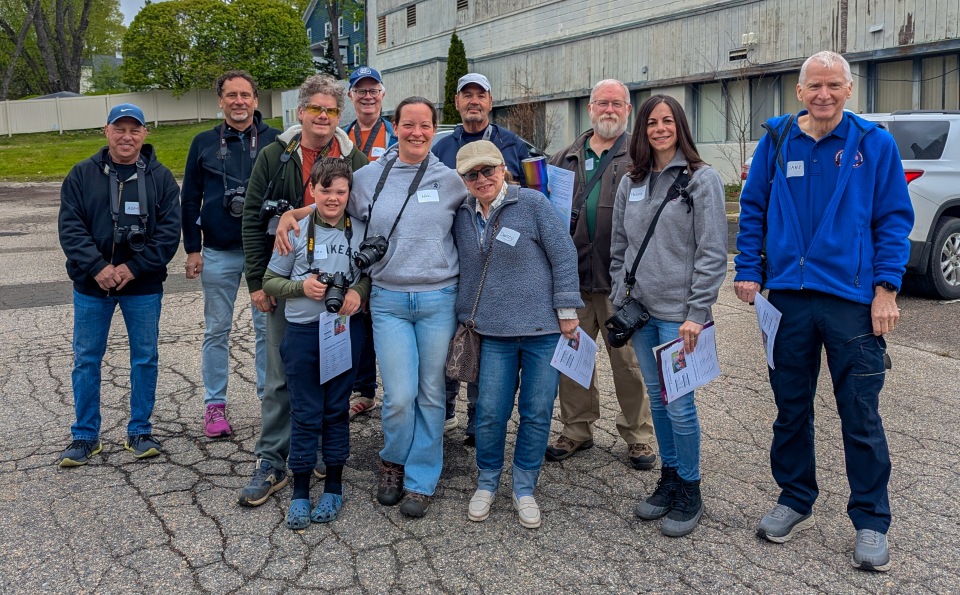
Flagpole Photographers Camera Club Posts
|
|
|
2027 Flagpole Photographers Workshop Day
|
|
|
WHEN WHERE Add to Calendar Event Highlights The Flagpole Photographers Workshop Day on Saturday, May 1, 2027, is a great way to boost your photography skills while capturing photos around historic Newtown. Work side-by-side with award-winning club photographers for the entire session. Agenda 8:50 AM: Meet at the morning outdoor session location. <TBD> 9:00 AM: While taking photos, focus on …
|
|
|
|
|
|
Holiday Party and Competition Subject Whimsy
|
WHEN WHERE Add to Calendar Event Highlights Holiday Party Subject Whimsy Competition Guidelines No Time Limit: Dig into your archives! The standard 3-year limit on when a photo was taken does not apply for this competition. Format: Entries may be in color or monochrome. Judging: The competition will be judged by club members. Members and their guests – Please RSVP …
|
|
|
|
|
|
Mentor Night: Photo Review & Processing Support
|
WHEN WHERE Click to Join Online Meeting Add to Calendar Share Your Work & Get Feedback! Mentor Nights are focused on interactive photo review and editing support. Upload your photos for constructive feedback before you finalize them. If you are stuck on a specific edit, struggling with a post-processing technique, or just want to see how to take your photo …
|
|
|
|
|
|
Photography Ideas for October 2025
|
|
|
- Assigned Subject - Food Photography
- Monthly Challenge - Elderly
|
Food Photography in a Two Minute Read
|
Capturing an irresistible food photo is about telling a delicious story. Here are five key tips to elevate your culinary photos from simple snapshots to mouth-watering works of art.
|
1. Master the Light
|
Light is the most critical ingredient. Always opt for soft, natural, indirect daylight by placing your setup near a window but out of direct sunbeams. An overcast day is perfect, as the clouds act as a giant natural diffuser. Light your dish from the side or from behind to create gentle shadows that reveal texture and dimension. Avoid using an on-camera flash or overhead kitchen lights, which create harsh shadows and unappetizing color casts.
|
2. Style with a Story
|
Every photo should tell a story about the food. Start with your main dish - the "hero" - and slowly add props that complement the narrative, like rustic cutlery for a homely feel or minimalist plates for modern elegance. Create visual interest by using layers: place a bowl on a plate that sits on a textured napkin. Remember that "less is more" to avoid a cluttered scene that distracts from the food.
|
3. Find the Perfect Angle
|
The camera angle you choose should flatter the food's best features.
|
- Table Height (0−15 degrees): Get low to the table for tall, layered foods like burgers and pancake stacks to emphasize their height.
- 45-Degree Angle: This is the most natural angle, mimicking how you see food when seated. It's versatile and works well for dishes in bowls, like pasta or soup.
- Overhead (90 degrees): Shoot from directly above for flat, graphic dishes like pizza or a charcuterie board. This angle is excellent for composing with shapes and patterns.
4. Use Color and Texture
|
Make your food "pop" by using basic color theory. Place your dish on a plate or background of a complementary color (opposites on the color wheel), such as an orange dish on a blue surface. The background itself is crucial; choose surfaces with texture, like wood or stone, to make the photo feel tangible and realistic. Use smaller, salad-sized plates to make portions appear more generous and abundant.
|
5. Nail the Technical Details
The most powerful portraits capture genuine emotion. Instead of asking for a smile, create an atmosphere where natural expressions can emerge through conversation and laughter. Stay alert for the candid moments between the poses - a quiet glance, a shared laugh, or a tender interaction often reveals more character than any formal pose. Don't forget to capture details, like their hands, which can tell a profound story of a life fully lived. A tripod is a game-changer, as it eliminates camera shake and allows you to use slower shutter speeds in low light for sharp, clear photos. Use a low numbered aperture to create a shallow depth of field, which blurs the background and makes your subject stand out. Finally, don't skip the editing process. Simple adjustments to brightness, contrast, and saturation can give your photos a final, professional polish.
|
Elder Portraiture Essentials in a Two Minute Read
Note - Our Monthly Challenge "Elderly", does not imply it must be a portrait. These essentials only focus on portraits.
|
|
Photographing elders is about capturing their life story and character with dignity. The goal is to create a timeless portrait that honors their journey.
|
1. Use Soft, Flattering Light
|
Harsh light can unflatteringly accentuate wrinkles and skin texture. Always seek out soft, diffused light. Position your subject in the open shade on a sunny day, near a large window (out of direct sun), or shoot during the "golden hour" just after sunrise or before sunset. A simple white reflector held opposite the light source can bounce gentle light back into the shadows, softening features and adding a beautiful sparkle to the eyes.
|
2. Prioritize Comfort and Connection
|
A great portrait starts with making your subject feel comfortable and respected. Provide a sturdy chair with arms instead of an unstable stool, and plan for frequent breaks. Put the camera down and engage in genuine conversation; ask about their life and listen to their stories to build trust and help them relax. Treat them not as an "old person," but as a vibrant individual that they are - an 88-year-old often feels 35 inside.
|
3. Guide Poses Gently
|
Posing should feel natural, not forced. Guide your subject into flattering positions by having them angle their body slightly to the camera, which is more dynamic than a straight-on shot. Encourage a slight bend in the elbows and knees to avoid stiffness, and remind them to sit or stand tall to convey confidence. Giving their hands something to do - such as resting them in their lap or on the arm of the chair - is key to a relaxed portrait.
|
4. Tell Their Story with Environment
|
Photographing someone in a meaningful environment, like their home or garden, adds layers of personality and context to the portrait. Incorporate props that are personally significant, such as a musical instrument, a favorite book, or a family heirloom. Interacting with these items often elicits the most genuine smiles and authentic expressions, allowing the environment to help tell their unique story.
|
5. Capture Authentic Moments
|
The most powerful portraits capture genuine emotion. Instead of asking for a smile, create an atmosphere where natural expressions can emerge through conversation and laughter. Stay alert for the candid moments between the poses - a quiet glance, a shared laugh, or a tender interaction often reveals more character than any formal pose. Don't forget to capture details, like their hands, which can tell a profound story of a life fully lived.
|
|
|
|
|
|
|
|
|
|
|
|
|